| openSUSE-Dokumentation Chapter 2. Customizing Your Settings / 2.2. Hardware | ||||
|---|---|---|---|---|
 | Chapter 2. Customizing Your Settings | 2.3. Look and Feel |  | |
| openSUSE-Dokumentation Chapter 2. Customizing Your Settings / 2.2. Hardware | ||||
|---|---|---|---|---|
| Chapter 2. Customizing Your Settings | 2.3. Look and Feel | | |
In the following sections, find examples of how to configure some hardware aspects of your GNOME desktop like keyboard or mouse preferences, handling of removable drives and media, or the screen resolution.
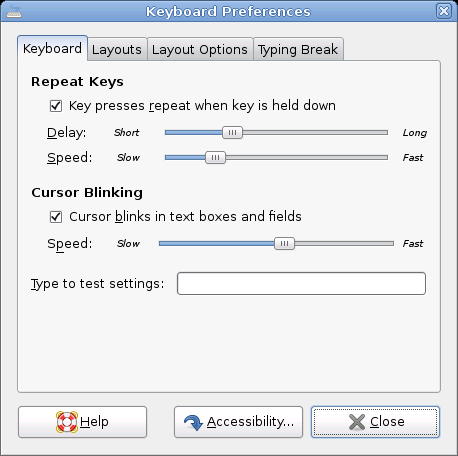
To modify some keyboard settings such as autorepeat preferences or typing break sessions, click +++.
On the tab, you can set some general keyboard preferences, such as enabling keyboard repeat with individual delay and speed options, or enabling or disabling the blinking of the cursor and defining the speed. For more information about the individual options, click .
To select your keyboard model, click the tab, click the button and select your model from the list.
To add a new language layout, click and choose a language layout to add to the list. You can select different layouts to suit different locales. Select one layout as .
On the tab, you can set typing break preferences. For more information about the individual options, click .
If all options are set according to your wishes, click .
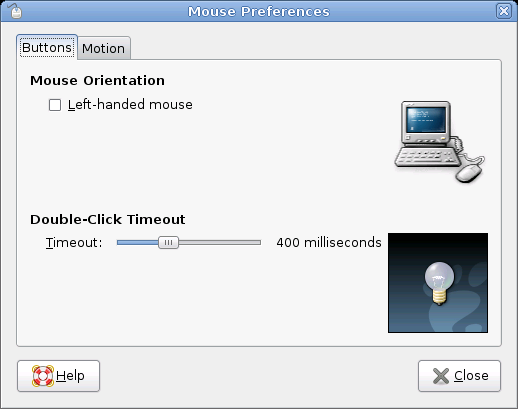
To modify some mouse options, click +++ to open the .
Use the tab to specify whether the mouse buttons are configured for left-hand use. You can also specify the delay between clicks for a double-click.
To select a different cursor theme, switch to the tab. There, you can also enable a mouse pointer animation when you press and release Ctrl. This feature can help you locate the mouse pointer.
On the tab, define the and of your mouse pointer. You can also modify the distance that you must move an item with the pointer before the action is interpreted as a drag and drop action.
If all options are set according to your wishes, click .
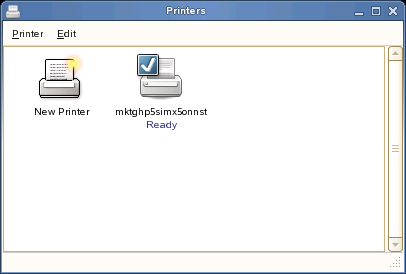
Use the Printers module to install and configure printers.
To start the Printers module, click +++.
You can use a wide variety of removable drives and media, including storage devices, cameras, scanners, and more. The configurations for many of these devices are set up automatically during installation. To change the configuration for a drive or other removable device, click +++.
Some of the possible configuration settings include:
What happens when a blank CD is inserted in the CD drive
What happens when an audio CD is inserted in the drive
Whether images are automatically imported from a digital camera when it is attached to the computer
Whether removable storage devices are mounted when they are plugged in to the computer
Whether PDAs are automatically synced when attached to the computer
In general, you do not need to change the settings that are already configured unless you want to change the behavior when a device is connected or if you want to connect a new device that is not yet configured. If you attach a device for the first time and it behaves in an unexpected or undesired way, check the Removable Drives and Media settings.
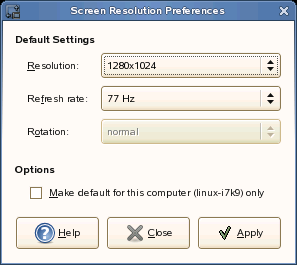
To specify the resolution and refresh rate for your screen, click +++ and modify the options.